Narrowed Beam Build-Up
Step-by-step assembly process of CB Performance's 2-inch narrowed/PUMA Adjustable Front End
BY
BRUCE SIMURDA
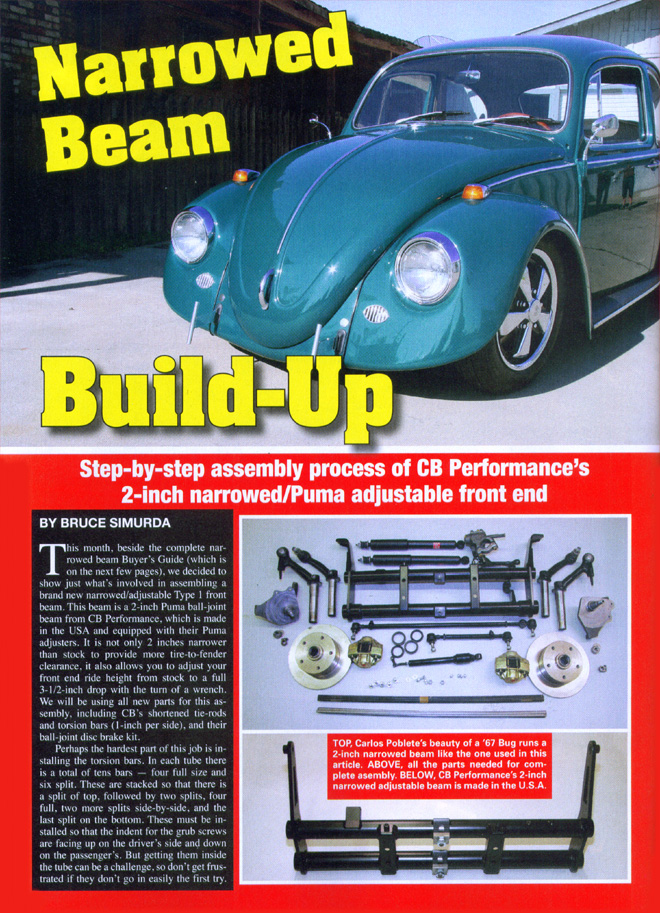
This month, besides the complete narrowed beam Buyer's Guide (which is on the next few pages), we decided to show just what's involved in assembling a brand new narrowed/adjustable Type 1 front beam. This beam is a 2-inch Puma ball-joint beam from CB Performance, which is made in the USA and equipped with their Puma adjusters. It is not only 2 inches narrower than stock to provide more tire-to-fender clearance, it also allows you to adjust your front end ride height from stock to a full 3-1/2-inch drop with the turn of a wrench. We will be using all new parts for this assembly, including CB's shortened tie-rods and torsion bars (1-inch per side), and their ball-joint disc brake kit.
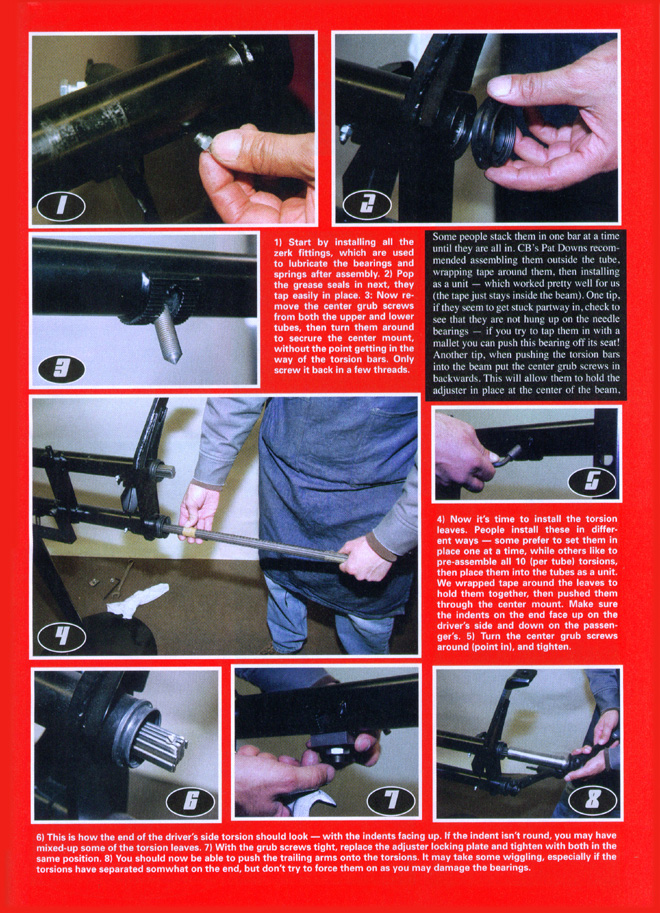
Perhaps the hardest part of this job is installing the torsion bars. In each tube there is a total of ten bars - four full size and six split. These are stacked so that there is a split on top, followed by two splits, four full, two more splits side-by-side, and the last split on the bottom. These must be installed so that the indent for the grub screws are facing up on the driver's side and down on the passenger's. But getting them inside the tube can be a challenge, so don't get frustrated if they don't go in easily the first try.
Some people stack them in one bar at a time until they are all in. CB recommends assembling them outside the tube, wrapping tape around them, then installing as a unit - which worked pretty well for us (the tape just stays inside the beam). One tip, if they seem to get stuck partway in, check to see that they are not hung up on the needle bearings - if you try to tap them in with a mallet you can push this bearing off its seat! Another tip, when pushing the torsion bars into the beam put the center grub screws in backwards. This will allow them to hold the adjuster in place at the center of the beam, without the pointy end interfering with the torsion's movement.
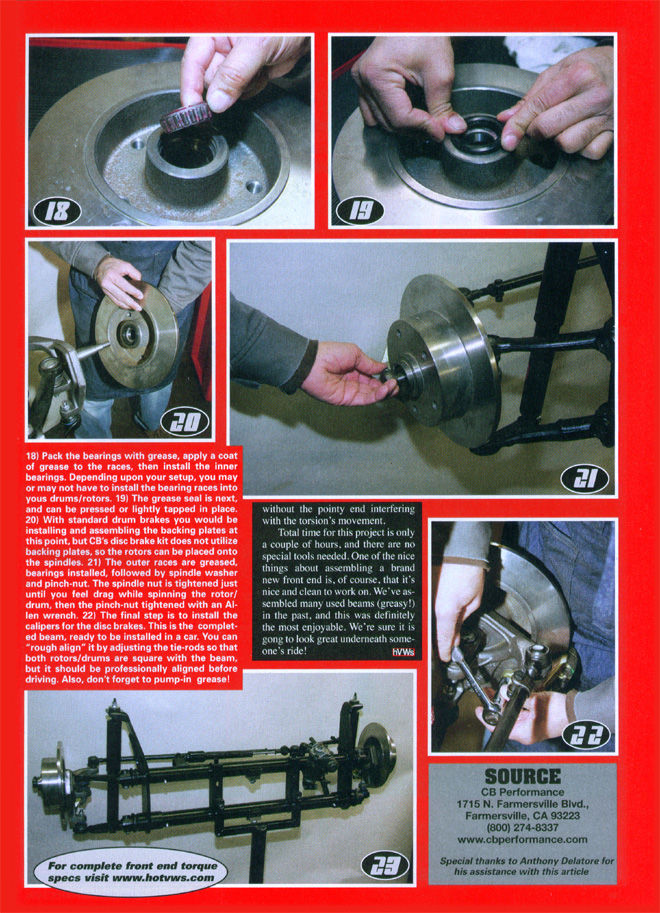
Total time for this project is only a couple of hours, and there are no special tools needed. One of the nice things about assembling a brand new front end is, of course, that it's nice and clean to work on. We've assembled many used beams (greasy!) in the past, and this was definately the most enjoyable. We're sure it is going to look great underneath someone's ride!